How to Embed a Liveblog on Your Website
Embedding a liveblog on your website is a great way to keep your readers engaged with real-time updates. Whether you’re covering breaking news, a sports match, or a live event, a liveblog allows your audience to follow along as the story unfolds. Our data shows that engagement and time-on-page increase significantly when a liveblog is embedded directly within your article. In this guide, we’ll show you how to embed a liveblog on your website, blog post, or news article in 5 simple steps.

Colin Lansbergen
CTO
Native Embedding Support on Most Content Management Systems (CMS)
Adding a Timepath liveblog to your website is quick and easy. Timepath works seamlessly with most popular content management systems (CMS). All you need is a small piece of embed code—no technical skills required.
Here’s how embedding works across different CMS platforms:
Webflow: Add custom HTML blocks anywhere on your page.
WordPress: Use the “Custom HTML” block or a page builder plugin like Elementor or Gutenberg.
Wix: Supports native code embedding directly from the editor.
Contentful: Paste your embed code into a custom field or rich text embed section.
Once embedded, your liveblog automatically updates in real time—no need to republish your page or refresh your browser.
How to Embed a Liveblog on Your Website in 5 Steps
It all starts with creating a liveblog. Once you’ve added your updates, you can easily share it with your audience by embedding it directly on your website.
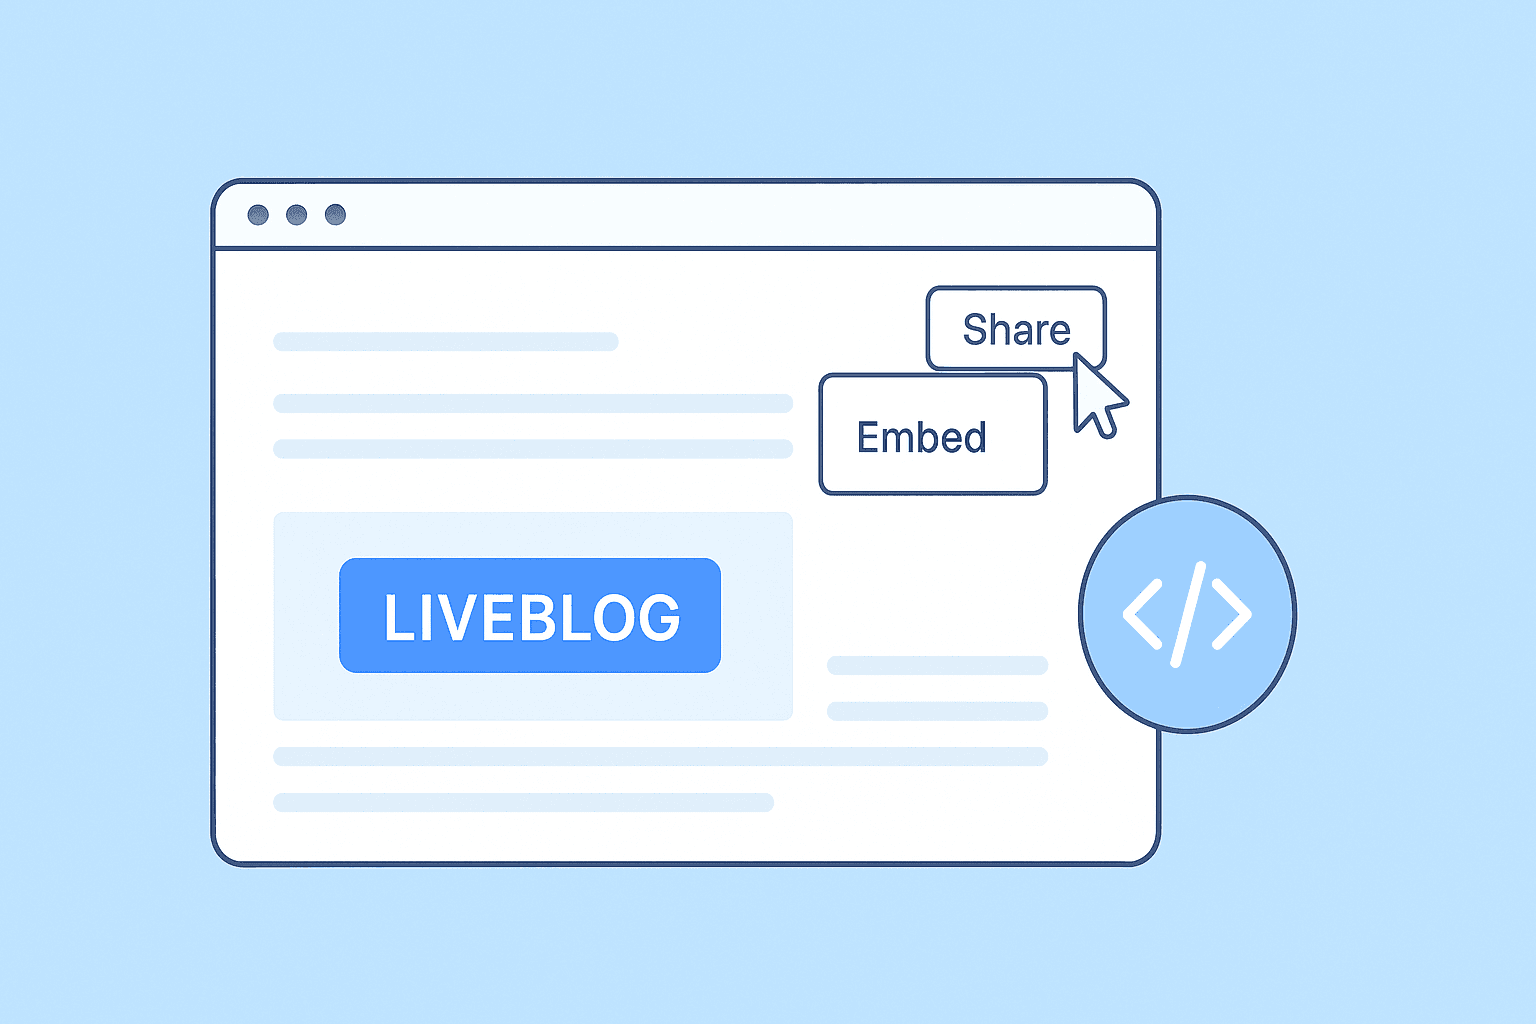
Step 1: Open the Share menu
Open your liveblog in the Timepath editor. Click the ‘Share’ button in the top-right corner, then select the ‘Embed’ tab.
Step 2: Adjust the embed settings
In the Embed tab, you can customize how your liveblog appears on your site. You can:
Set the height of the embed frame (in pixels).
Allow scrolling inside the embed frame (recommended for long liveblogs).
Enable automatic resizing to ensure your liveblog looks perfect on any device—desktop, tablet, or mobile.
Step 3: Preview the liveblog
Before you embed, you can preview exactly how your liveblog will look. Click the ‘Preview liveblog’ button to see how it will appear to your visitors once it’s live on your page.
Step 4: Copy the embed code
Once you’re happy with the preview, click ‘Copy embed code’. This copies a small HTML snippet to your clipboard—ready to paste anywhere on your site.
Step 5: Paste the code into your website
Go to your website builder or CMS (for example, WordPress, Webflow, or Contentful). Find the spot where you want the liveblog to appear and paste the embed code into a Custom HTML or Embed block.
Once published, your liveblog will appear directly in your article—fully interactive and automatically updating as you add new posts.
That’s it!
You’ve now successfully embedded your Timepath liveblog. The best part? Every update you make in Timepath appears instantly on your website (usually within a few minutes). No manual updates or refreshes needed.
Engage your readers with real-time storytelling—and make every moment count.